If you use a graphing system, waiting all day long to see something spike can be painful. And boring.

Ouch! Seeing those spikes can be annoying, but missing them can be even more annoying. Who can be bothered to stare at graphs all day and night?
Seyren
That’s why recently I had the opportunity to try out Seyren. I’ve been meaning to try it out for a while; it’s a Java-based solution to monitor a graphite endpoint and react to various configured thresholds by alerting external services.

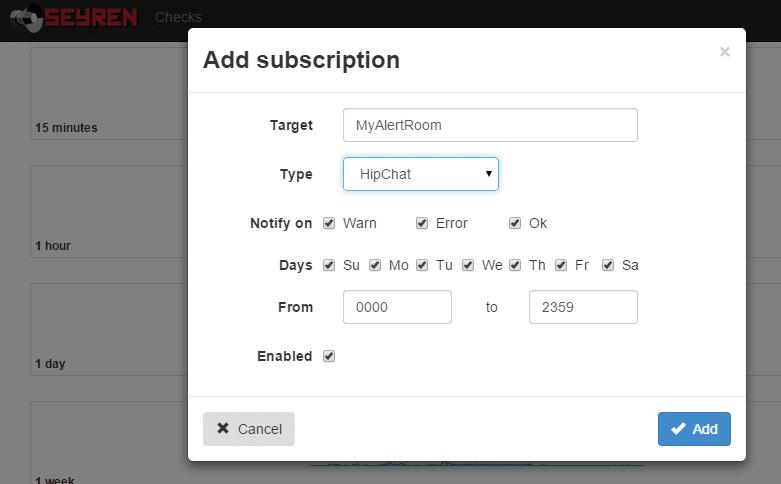
These external services are extensible and currently there is support for systems such as plain old email, Flowdock, Hubot, Irc, PagerDuty, Slack, and – the subject of my interest – Hipchat.

Unfortunately, Seyren only supports Hipchat API v1 (which is deprecated) and as such I couldn't use it. Also it’s written in Java and I’ve never written anything in Java. However, I did do a degree in C++ and that's pretty close, right?…
Right?..
This is the short story of how I contributed to a Java-based open source project, adding support for Hipchat V2 and generally saving the day! (possible exaggerations may exist in this post.)
First up, how I managed to set up a minimal Java development environment on Windows.
Java
Installing Java on Windows
You have two main options for getting the Java Development Kit running on your system:
One:
- Head over to the JDK download page on oracle.com
- Download and install the Java Development Kit for your OS
Two:
- If you haven't already got the amazing Windows package manager chocolately, go and get it!
choco install jdk8
For either one, you may still need to add the Java root dir to your PATH (not the bin subdir) as JAVA_HOME, like this:

Maven
What is it?
Maven is a build automation tool, used a lot in Java projects. The build configuration is in an xml file – usually named "pom.xml" for Project Object Model – which defines the dependencies and project configuration.
Maven has the concept of plugins, goals, and phases to extend and link stages into build lifecycles. The Build lifecycle is a list of named phases that can be used to give order to goal execution.
One of Maven's standard lifecycles is the default lifecycle, which includes the following phases:
- validate
- generate-sources
- process-sources
- generate-resources
- process-resources
- compile
- process-test-sources
- process-test-resources
- test-compile
- test
- package
- install
- deploy
So running mvn test will result in the execution of phases 1 through 10; mvn install will execute phases 1 though 12. You get the idea.
Installing Maven on Windows
Again, a couple of options;
One:
- Head over to https://maven.apache.org/
- Download the zip
- Place the contents in a seriously high level directory such as C:\mvn (Maven doesn't like spaces in pathnames)
- Append the bin subdir to your PATH
Two:
choco install maven
Heh.
Either route needs you to open a fresh command line in order to get the updated PATH values maven configures.
Right, now on to the main event!
Seyren
What is it?
Seyren "is an alerting dashboard for Graphite. It supports the following notification channels: Email, Flowdock, HipChat, HTTP, Hubot, IRCcat, PagerDuty, Pushover, SLF4J, Slack, SNMP, Twilio"
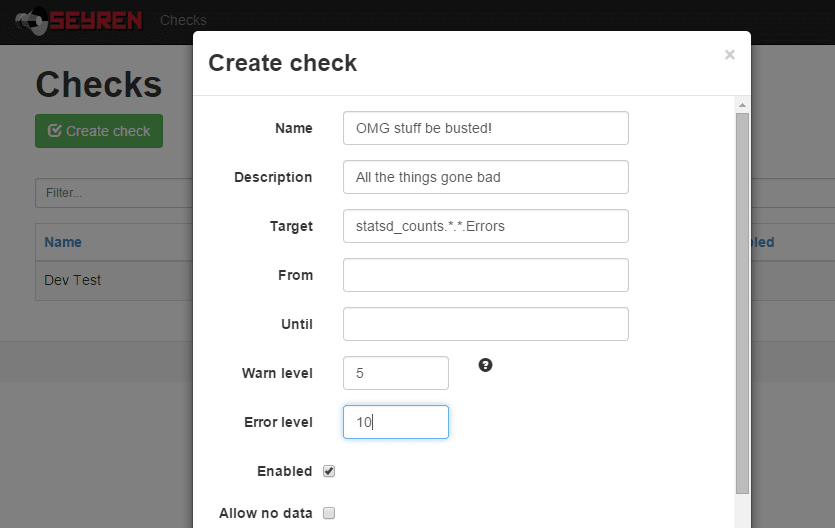
You configure it to point at a graphite instance, tell it what metrics to monitor, what thresholds to watch out for, how to notify you of these events, and it will ping graphite every few seconds; should any of those thresholds be met, it will notify you.
Simple as that. Its power is in that simplicity.
Getting the code
Head over to the github repo at https://github.com/scobal/seyren and clone the repo locally.
If you just want to run it, then you can just download the latest release as a Java jar file.
Running Seyren locally
Seyren has a dependency on mongodb where it saves the checks (points at which a configured threshold has changed state)
So, let's set that up.
choco install mongodb
Easy. If everything has worked so far, you can open a terminal in the repo directory and run the following maven command to check it builds and the tests pass:
mvn clean verify
If all went well, you will need to set up an environment variable or two, such as your graphite instance's url and in my case my hipchat API key. Again, these are just environment variables, like JAVA_HOME.
Once that's done you can run Seyren temporarily within maven for a quick play.
mvn clean verify -Dwait- Open a browser and head to http://localhost:8080/seyren
Happy with it? You can use maven to create a jar file using
-
mvn packageor if you want to skip running the tests again
-
mvn package -DskipTests
That will generate you a bunch of jar files in various target subdirectories; the one we're interested in is in seyren-web – the others are dependencies for it.
You can now start this puppy up within a tomcat instance using (substitute the name of your "war-exec.jar" file in here):
java -jar /seyren/seyren-web/target/seyren-web-1.4.0-SNAPSHOT-war-exec.jar
Checkpoint 1
You should now have Java, Maven, MongoDB, and Seyren running happily. Now here's how I managed to implement Hipchat v2 support and get the PR accepted!
Java IDEs
Seriously? Eclipse? I've looked at it before, and couldn't stand it. I even downloaded and installed it, but gave up. Since I'm not building a Java project from scratch, all I needed was a half decent text editor.
As such, I fired up my current favourite editor – SublimeText. I like the simplicity of this editor, and you can easily get it yourself with choco install sublimetext2, naturally.
Having a pretty good understanding of the Hipchat v2 API, I was able to guess and googlebing the necessary Java syntax for updating the existing HipchatNotificationService, as can be seen in this pull request: https://github.com/scobal/seyren/pull/294/files
Being able to easily switch back to command line and run mvn clean verify to get the build feedback and the test results was pretty painless. I got it running by pointing it at the company Hipchat account and checked everything worked as expected, then proceeded to submit a pull request, expecting to receive all manner of awards for my contribution and epic skillz.
Contributing

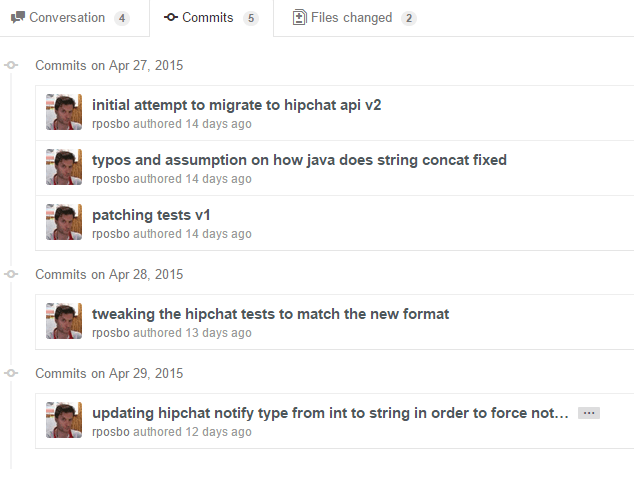
Unfortunately I made a few messy commits in my initial pull request and someone had their own PR merged in the meantime (i.e., whilst I spent several days trying to work out how to generate a "jar" file..), but it didn't do anything of value and was even incorrect. Instead of doing the right thing and merging with it, fixing it, reverting their stuff, and submitting a full PR, I was lazy; I submitted a messy list of commits with a message along the lines of "I know it doesn't merge, but that's your fault not mine".
I was tired, I apologise.
I received a request to rebase and squash the commits, then resubmit the PR. I've never done that; I can
git clone
like a pro, but after something like
git mergetool --tool=kdiff3
(my current fave), I'm out of my depth. I had to learn quickly!
In short; rebase appears to rewind your commits, take another branch, and replay the commits one by one over that branch. If any of the commits result in a merge conflict you can fix it before deciding to git rebase --continue. Pretty nice.
Squashing commits is pretty obvious; takes a set of individual commits and merges them into one commit. There are several ways of doing this that I've read about, but the one I find easiest is to "soft reset" your local branch using
git reset HEAD~3 --soft
In this example I will effectively uncommit the latest 3 commits, but the key is the --soft option – your changes are not undone (as with --hard), merely uncommited.
You can now commit all of the changes from those 3 commits into one, and give it a nice, clear, commit message.
That's what I did, and that's how my first Java OSS contribution was accepted!