(Apologies in advance for what will be an image-heavy post!)
Intro
XBMC (originally the XBox Media Centre) is an award-winning free and open source (GPL) software media player and entertainment hub for digital media. Raspbmc is a distribution of XBMC tailored specifically for the raspberry pi.
Using it you can easily stream audio and video from your local network, USB devices, and the interwebs for the price of a ‘pi, the cables needed, and an SD card.
Raspbmc Installer for Windows
Download the installer
There are various download options including getting the full ISO yourself and manually doing the install. The easiest and recommended option is to download the bootstrap installer which ensures you get the correct, and latest, version of XBMC and can also set up networking prior to the install, which saves the need to configure this manually from the pi itself.
The download options are all on the raspbmc download page
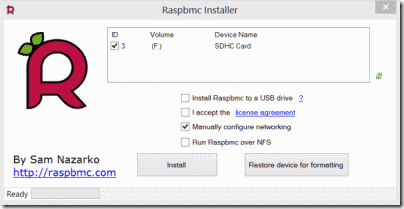
Run the installer
Insert the SD card you’re going to install raspbmc to; be sure you select the correct device in the setup screen as it does wipe the entire device during installation.
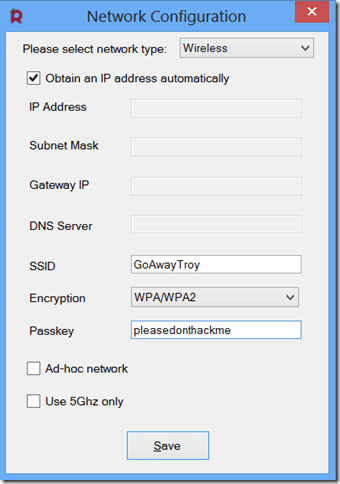
Set up networking
I think this is a great touch; allowing you to configure your network settings (wired or wireless) as part of the install process, so that your pi should just work after plugging in the power and SD card
Plug it in, Go Go Go!
Once the bootstrap installer has been written to your SD card, put the SD card into your pi, plug it into the HDMI port and turn on the pi. If it supports HMDI CEC, your TV should automagically turn on and change to the new HDMI input.
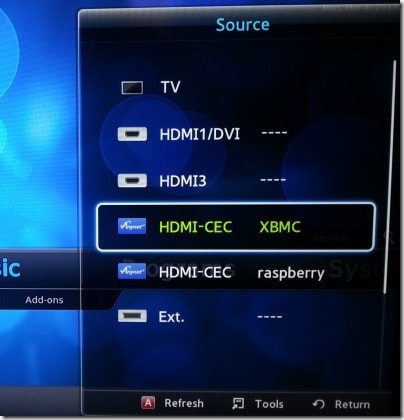
CEC (consumer electronics control) is the control protocol in HDMI which allow systems which run over an HDMI port to interact with the host device, either via the host’s remote control for input or transmitting similar input in order to control the host.
Automatically turning on your TV and changing to the correct HDMI source when you turn on you pi whilst running Raspbmc is one example of the device controlling the host.
Interacting with Raspbmc on your TV just using the TV remote control is an example of the host’s remote controlling the device.
This makes what could be a complex and nerdy device available to those other family members who may not be as nerdy as yourself; no need to ssh in to start a service to download a plugin, or VNC over to browse your network, or plug in a keyboard and mouse to search for some music. Pretty clever stuff!
After a lengthy wait to download the full latest XBMC distro (I presume) and setup your system you should be presented with the default XMBC home screen

From here you can do oh so many things! Stream your music from your network or attached USB device, stream video likewise (y’know, bog standard media centre stuff), if you have a PVR backend then you can use it to view live TV, the EPG, configure recording and pause of live TV.

You can install a selection of plugins for audio, video, themes, and other things like weather apps. If you choose to install video add onsyou can find such awesome plugins as Wired and TED (and Anime Vice.. there’s some weirdass cartoons on that one):
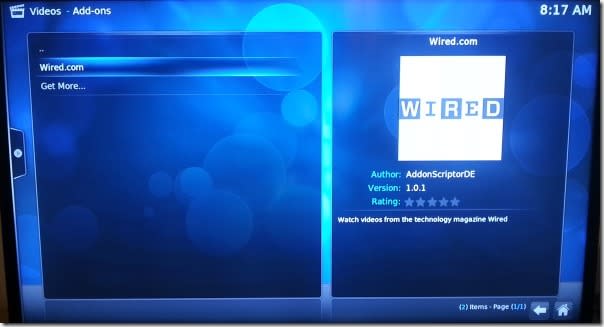


These can effortlessly stream HD video to your TV, which I think is pretty impressive for something so small and cheap!
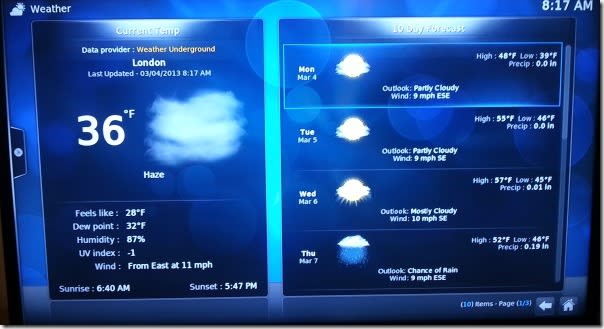
The weather app is pretty decent too, except I could not for the life of me figure out how to change it from Fahrenheit to Centigrade.
ssh is running by default, but the default pi password doesn’t seem to be "raspberry". As such, I had to connect it to my tv to set the password (under Programs -> Add-ons -> System Configuration -> Password Management). I believe the default settings are username “root” password “root”
In summary
This is a fantastic use for a pi, especially if you don’t already have a media centre setup. However, as you can read from my Year of 101s #2 : Smart TV posts, I already have a media centre built into my TV for this sort of thing; it can already install apps (the TED app works great, as do all of the catch up tv ones) so I wouldn’t use Raspbmc myself.
![w2db_fail[1] w2db_fail[1]](https://res.cloudinary.com/otomotech/image/upload/f_auto,q_auto/robinosborne/2013/05/w2db_fail1.png)
![screenshot-2[1] screenshot-2[1]](https://res.cloudinary.com/otomotech/image/upload/f_auto,q_auto/robinosborne/2013/05/screenshot21.png)
